How To: 500-Hour Planned Maintenance on a Cat® Dozer

Estimated read time: 4 minutes

Every 500 service hours, it's time for PM2 maintenance. While the exact service requirements can vary by machine, here's what you can expect for a Cat® D6 XE Dozer. Always refer to your Operation and Maintenance Manual (OMM) for safety procedures, and don't forget to wear appropriate personal protective equipment (PPE).

Check out this video to see how to perform this maintenance before you dive in:  


Do your maintenance in a clean environment and on a level surface. Let your equipment coast to a stop because this will help when you check track tension. Engage the park brake, lower implements to the ground and lock out the hydraulics. 

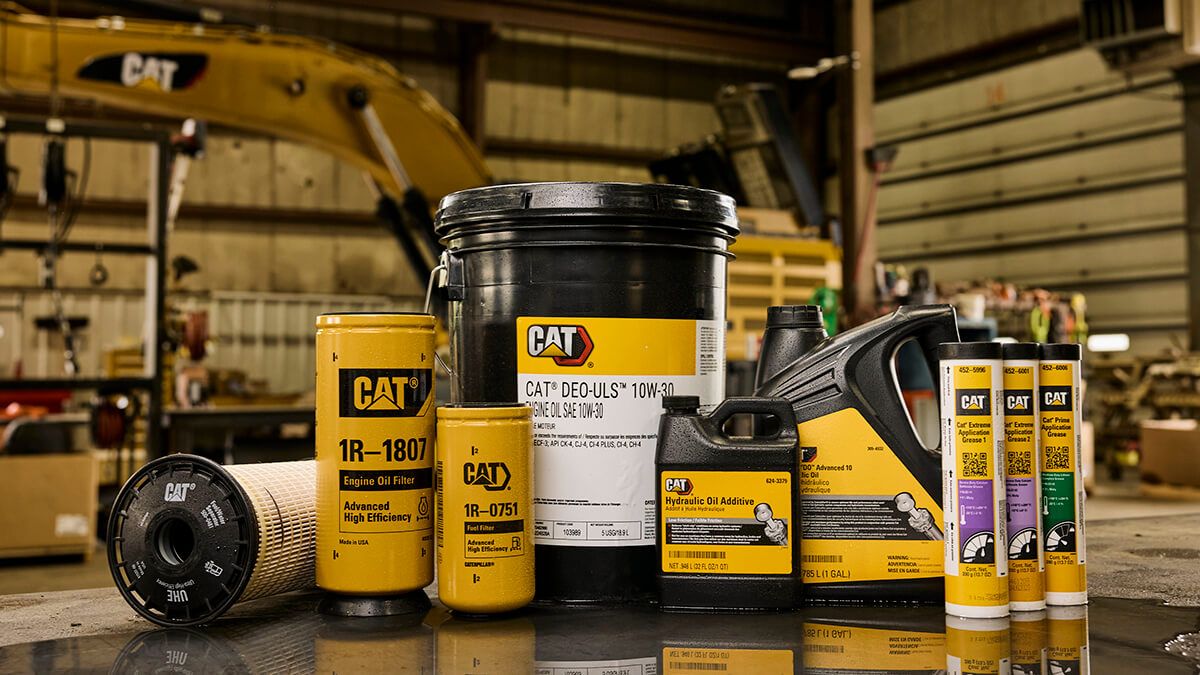
You can order all the necessary parts for maintenance at Parts.Cat.com. Enter your machine’s serial number to find the specific parts and Cat Self-Service Options (SSO) tailored for your equipment. SSOs provide detailed service instructions along with recommended parts and tools.

Before starting service, walk around your machine to look for leaks, rust or any other signs of damage. 

Take Fluid Samples

To begin this routine Cat D6 XE Dozer maintenance, you'll need to collect S•O•SSM Services samples. The following samples need to be taken while the engine is running and the compartments are at operating temperature. Always drain a bit of fluid before you start filling the bottle so that you’re getting an accurate analysis of fluid health.

Take samples for the engine, hydraulics and transmission. The transmission and engine aren’t pressurized, so you have to pump those samples out. 

Once these samples are collected, you can turn off the engine and use a pump to take separate fluid samples from both final drives.

of

Inspect the Electrical System

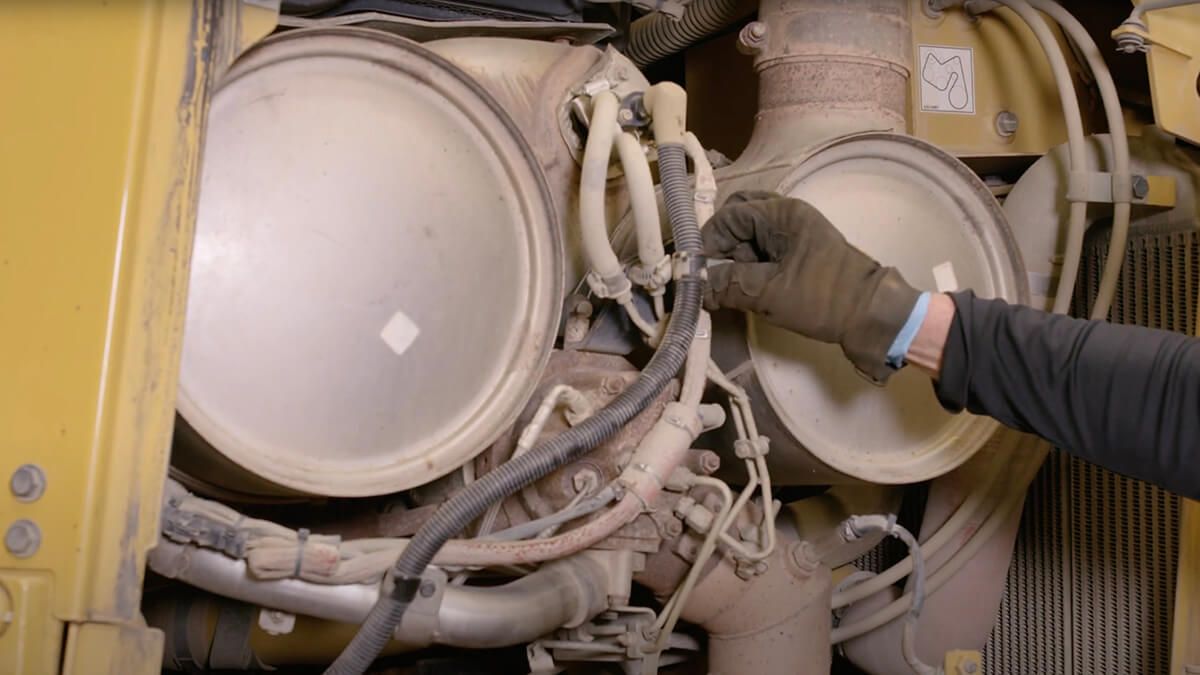
Before this inspection, shut off the D6 XE’s electrical system for your safety. Check enclosures, cables, harnesses and ground straps throughout the machine. Replace any missing hardware, clean off built-up debris and make any necessary repairs.

Drain Engine Oil and Replace Filter

  • Open the cover under the machine, remove the plate in the belly pan and drain the engine oil. 
  • This will take a while, so it’s recommended to do this early on in your service.

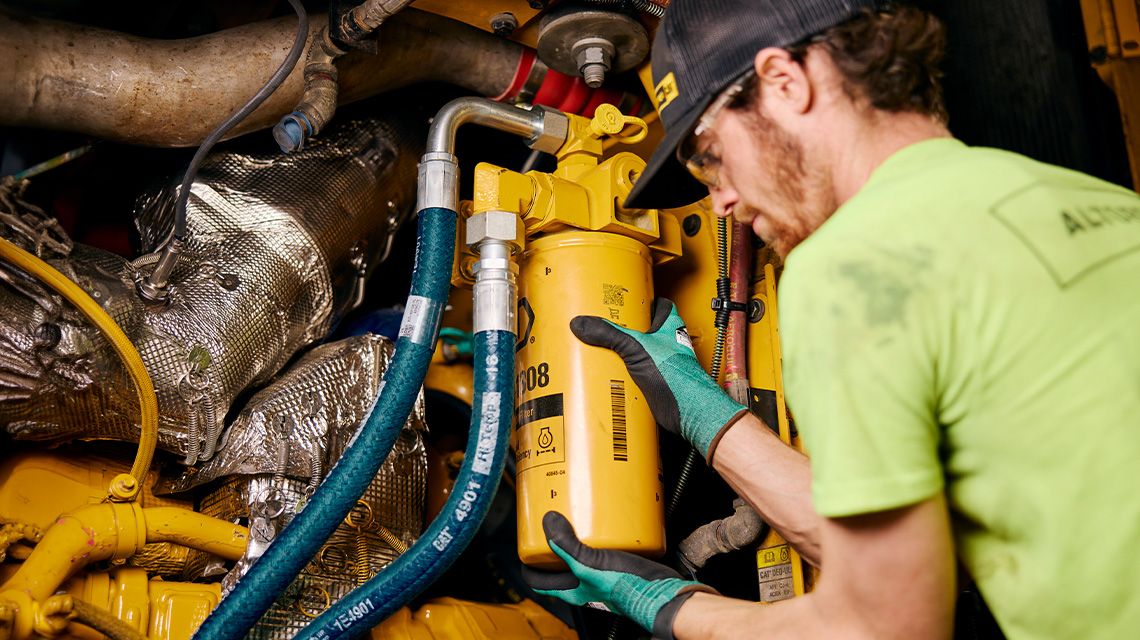
Once the oil has drained completely, remove the filter using a strap-type wrench. Wipe the housing and make sure the old seal is removed. Coat the new filter’s seal with new engine oil, and reference the installation instructions on the filter.

After refilling the oil, clean the fuel fill cap and then reinstall it.

Undercarriage Maintenance

  • Track tension: Stretch a string over the grousers from the sprocket to the front idler. Measure at the dips in the track, and average the measurements. Check your OMM to see if the value is in range. Too tight? Add grease to the adjustment valve. Too loose? Release grease.

In that same panel, check the recoil spring oil level. 

Also check the equalizer bar end pins, front roller frame seals and track shoes for any signs of wear or damage.

  • Final drive oil: Move the machine so the oil level mark is horizontal and the drain plug is facing downward. Drain the oil, inspect the magnetic plug and fill the drive with new oil. Repeat this process on the other side. 
  • Pivot shaft oil: Check the oil level on both sides of the track and add oil if it's low.

Filter Maintenance

Now, shut off the fuel valve at the back of the machine and drain any sediment. Replace the primary and secondary fuel filters, being sure to coat the new seals with clean diesel. Never prefill your fuel filters. Follow the instructions in your OMM to prime the fuel system. 

Replace the fresh cabin air filter outside the cab. Inspect the recirculating filter in the cab, and replace it if it’s dirty.  

While in this area, remove and clean the fuel tank strainer.

Final Tasks & Checks

  • Serpentine belt: Inspect the serpentine belt and replace it if it's damaged.
  • ROPS/FOPS: Check the bolts, making sure they are secure and not damaged. If you find any damage to your rollover or falling object protective structure, get it serviced immediately.
  • Winch maintenance: If equipped, replace the winch oil and lubricate the roller and fairlead assembly.

Don’t forget to shut all compartments and put guards and steps back in operating position. Turn the electrical system back on.

With thorough planned maintenance, you can help keep your Cat equipment ready for its next 500 service hours.


Looking for other hours intervals? We have guides for 250-hour, 1,000-hour and 2,000-hour maintenance, too.

For more information and support, contact your Cat dealer. And always check your Operation and Maintenance Manual for specific instruction and safety procedures.


More DIY Articles

Looking for step-by-step instructions for something else? We’ve got you covered.

See More Articles
worker replacing filter in a Cat machine

DIY Maintenance Videos

How-to videos for your most common maintenance needs.

Watch Now
worker inspecting and repairing a machine

Parts.Cat.com

All the parts you need for your specific equipment in one convenient place.

Check Out Parts
Cat oils, filters, and greases in workshop


YOUR CAT DEALER IS STANDING BY